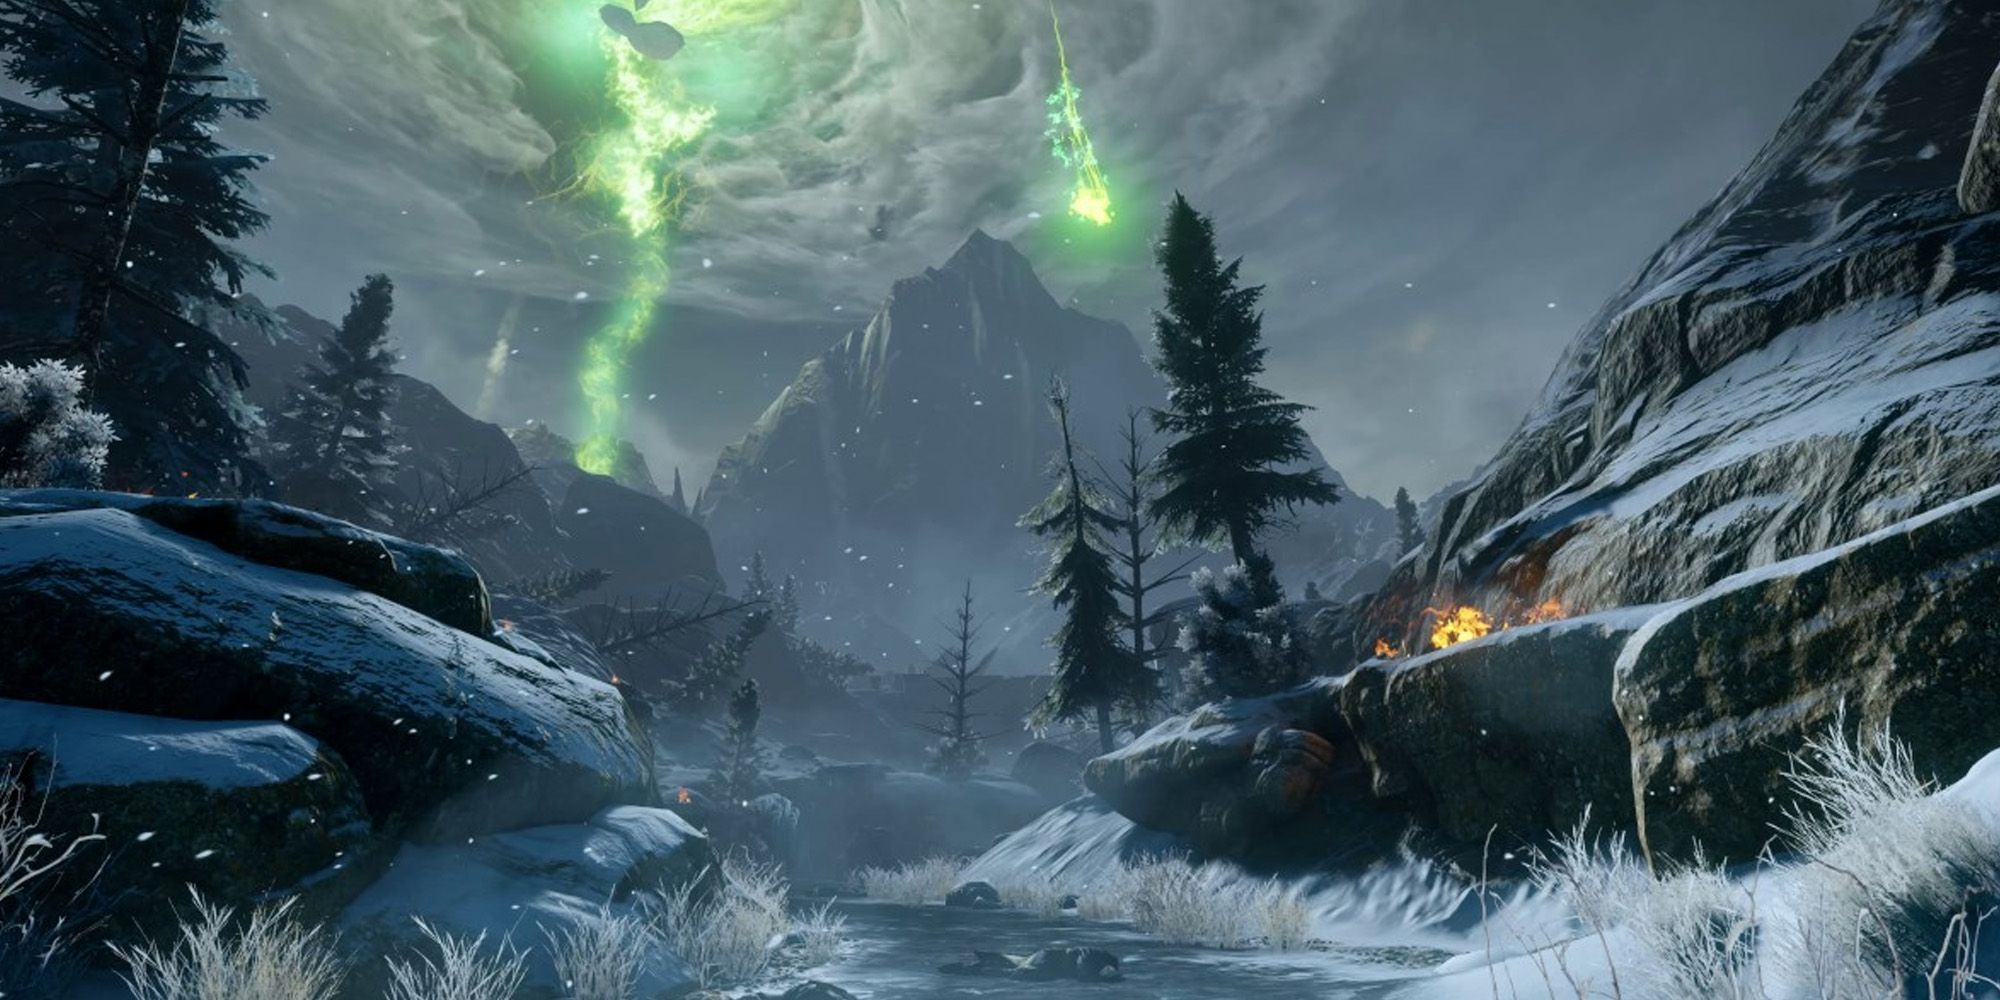
Dragon Age: Inquisition launched the game with the player character racing through the Fade with a mysterious golden figure, only to emerge unconscious from the Breach near the exploded Temple of Sacred Ashes with an eerie new power that closed small tears in the Veil. Taken prisoner by all that remained of the Divine's retinue, the player woke in chains with two angry women looming over them and looking for answers. Believed to be responsible for the explosion and the death of Divine Justinia, they weren't about to let the prisoner walk free.
With no answers about what happened or how they gained that angry mark on their hand, Cassandra Pentaghast asked for their help in reaching the ruins of the temple to see if there was anything to be done to make sense of the chaos tearing at the sky and spilling demons into the world. Initially unarmed, the player followed Cassandra toward the Breach, battling through hosts of demons and picking up allies along the way.
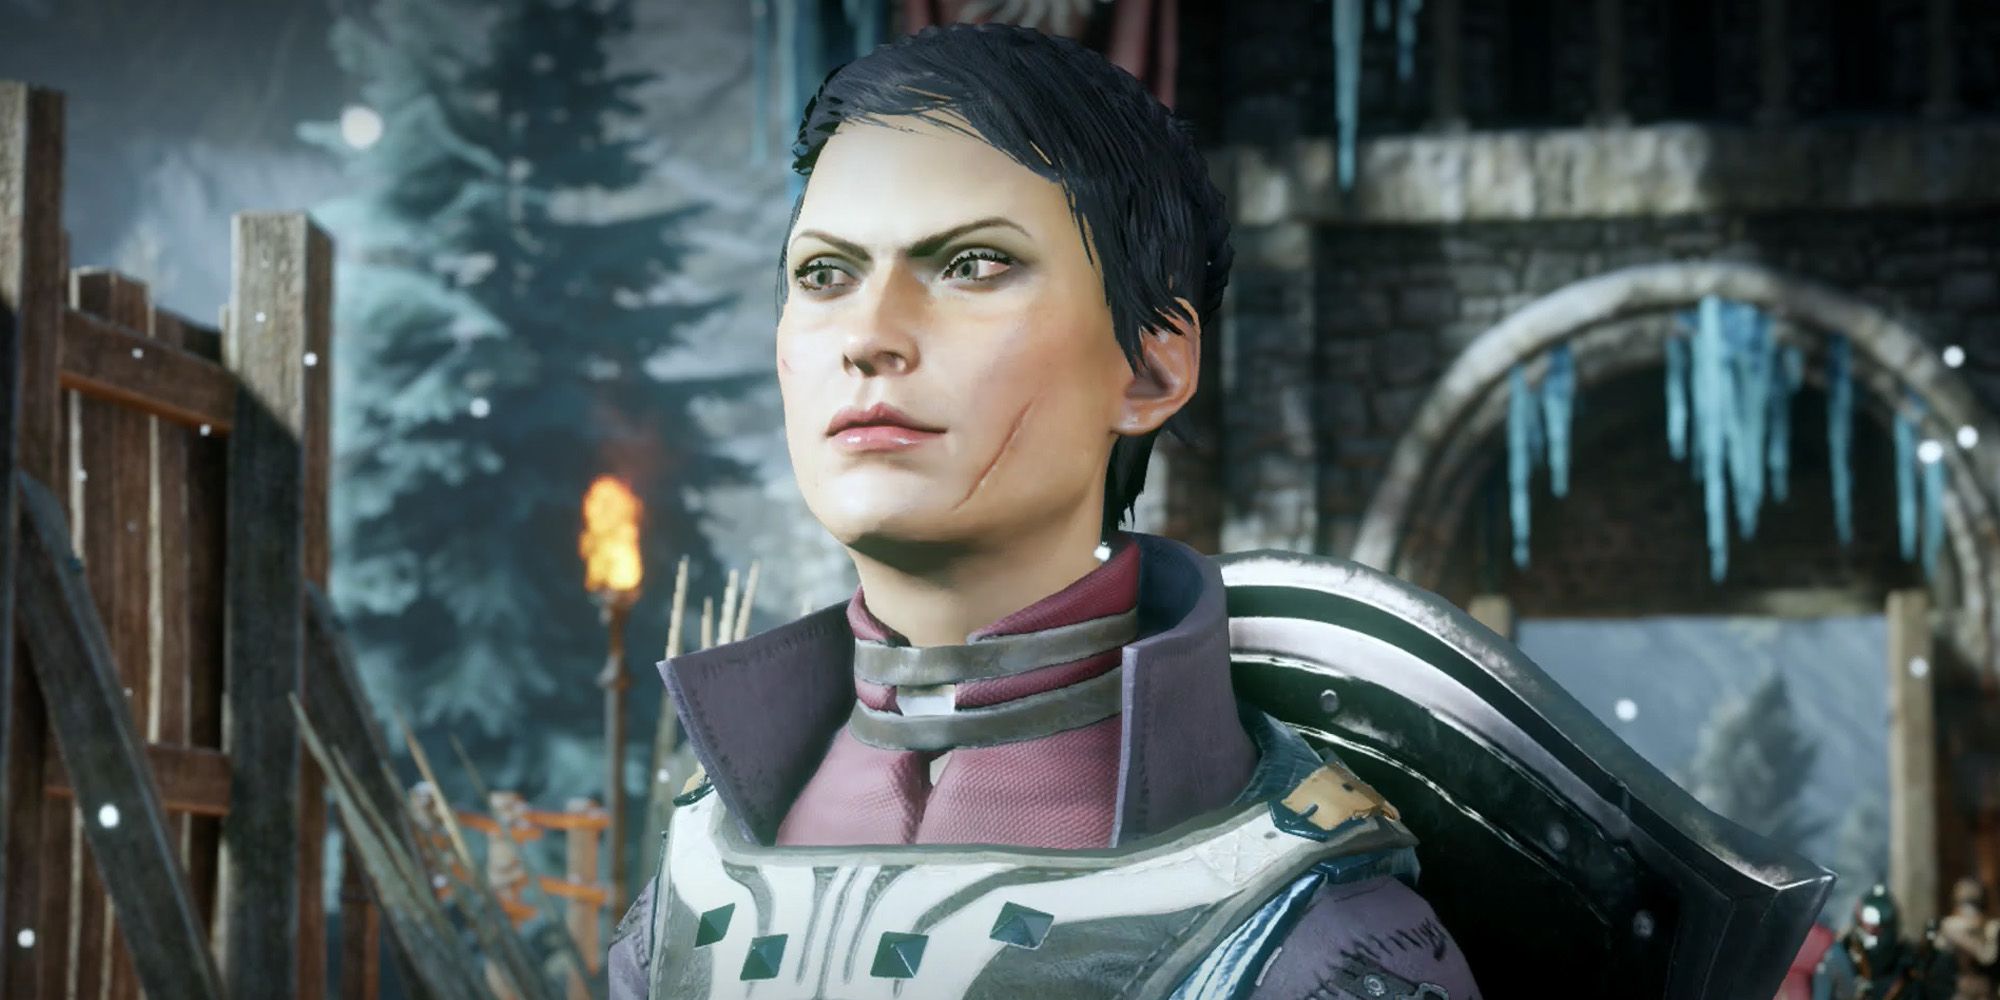
One of the earliest opportunities in the game to earn Cassandra's favor arrives just before she unchains the player character. After explaining the situation and noting that they believe the mark on the player's hand could potentially close rifts, responding with an offer to help earns Cassandra's approval, while more biting replies net disapproval. Unchained, take control of the character and follow Cassandra. Along the way are several tutorials on how to use the controls, so pay attention when they crop up, as it will definitely come in handy.
Pass through the gates and begin traveling uphill until the mark on the character's hand pulses and drop to their knees, triggering a short cutscene. When crossing the bridge, it collapses, dropping the player and Cassandra into the valley below for their first encounter with a lesser shade demon. While Cassandra fights, the player is given their first class-specific weapon; upon picking it up, Cassandra demands that they put it down. Another opportunity for approval or disapproval arrives in the player's response to her demand, though regardless of the reply, she will realize she can't defend the player on her own and allow them to keep their new weapon. She will also hand over a few potions, which can heal both the player and any allies in their party.
Search the area for loot, finding a class-specific helmet on the body of the dead soldier ahead and a bit of essence from the dead demon on the ice nearby. Head up the banks, battling through demons as they advance, and as areas are cleared, feel free to search around for loot, as there is plenty hidden around, including crafting materials. Upon reaching the top of the steps, a cutscene triggers in which Varric and Solas are battling demons, and Solas grabs the player's hand to seal the rift. The player can earn early approval from Solas by asking if he knows about the mark on their hand. The two join the party.
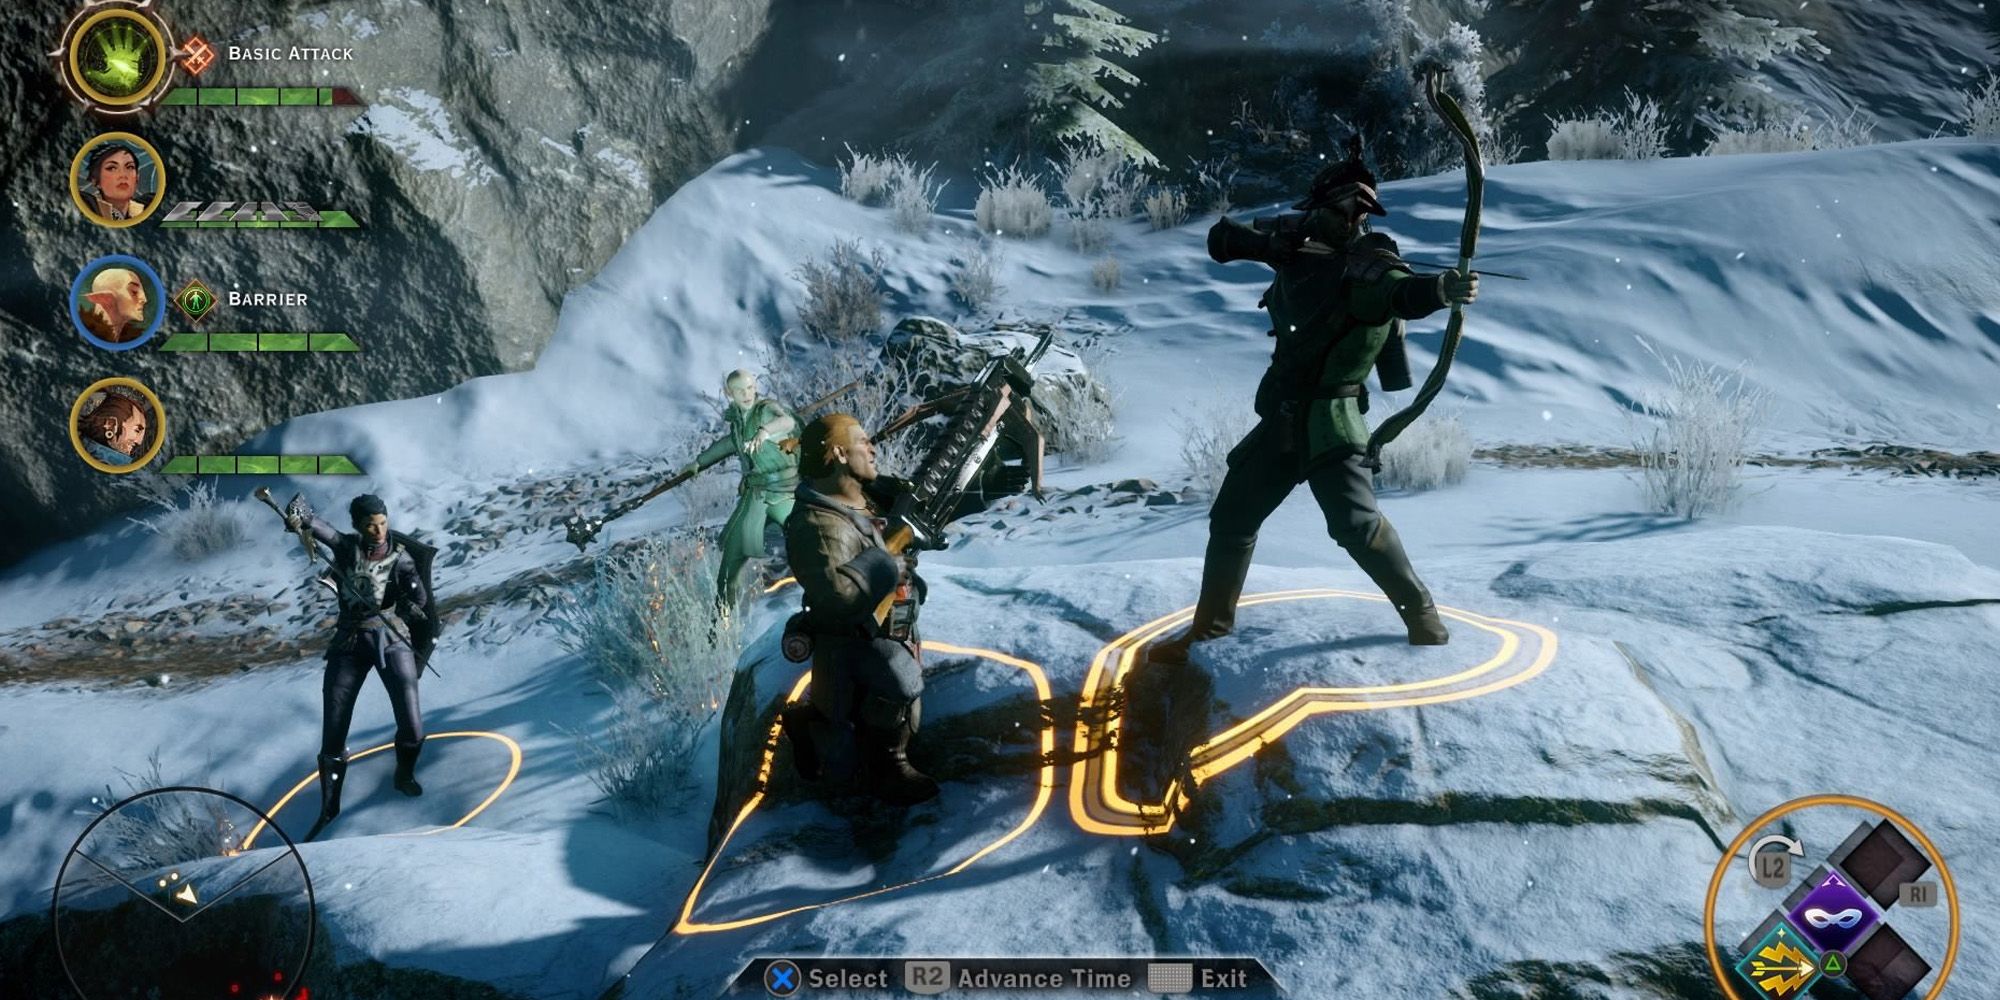
Search the area for any loot, then follow Cassandra over the crumbling wall and back down toward the frozen river. There is some iron for crafting on the rocks nearby and a lootable body holding a statue of Maferath the Betrayer that can later be sold. Reaching the open area at the bottom of the hill, there are a few buildings nearby, as well as a host of demons that need to be taken care of before exploring the buildings. The game begins a tutorial at this point on using tactical camera mode, demonstrating how to pause and position the party to strategically set up their attacks before launching into combat.
Once the demons have been eliminated, head toward the building on the far right to begin looting the area for useful items. After looting the burning building, begin up the path and grab the lifeward amulet before heading back to the battle area to ascend up the hill. Battle through the demons that emerge on this trek, then head toward the forward camp where Leliana and Chancellor Roderick argue about the situation. There is a potions cache before approaching the table, so be sure to restock before talking to the chancellor.
Presented with a choice, the player can either take the hidden path through the mountains, which results in saving a missing scout party, or advancing into battle with Cullen and his men. Both paths lead to the Temple of Sacred Ashes; however, there are fewer enemies and less XP to earn if choosing to attack outright with Cullen. This path is relatively straightforward, ending outside the temple.
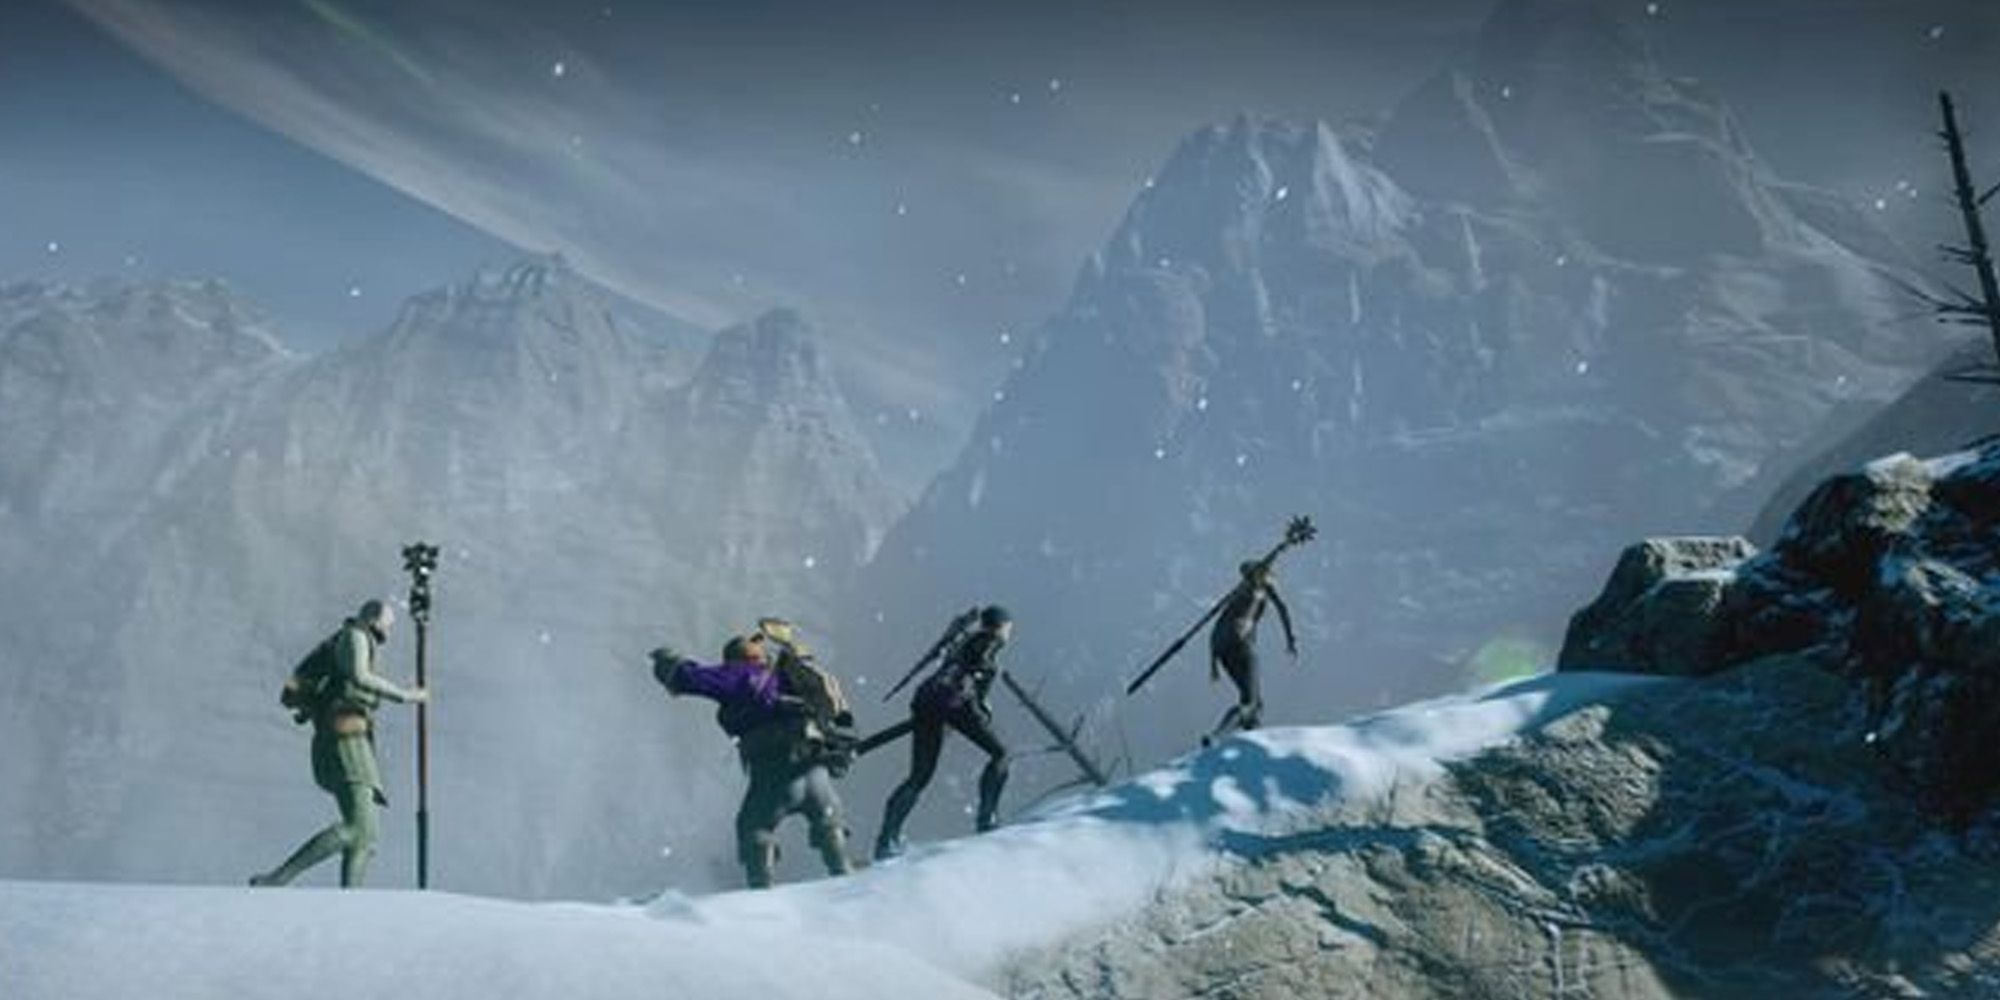
In choosing to take the mountain path, the player can earn approval from Varric and slight disapproval from Cassandra. Climb the ladders leading into the mountain and approach the mouth to the old mine. Demons are waiting within, so be ready for a fight when entering the mine. Once the shades have been eliminated, enter the room for a chest and some gold. Advance deeper into the mine, battling through demons until reaching the exit.
Head down the hill and enter the fray, as what remains of Leliana's scouting party surrounds a rift spewing demons in the world. Battle through them and close the rift, saving the party and earning their appreciation before they disappear back into the mining shaft. Follow the path to reach a ladder downward and into the outside ruins of the temple.
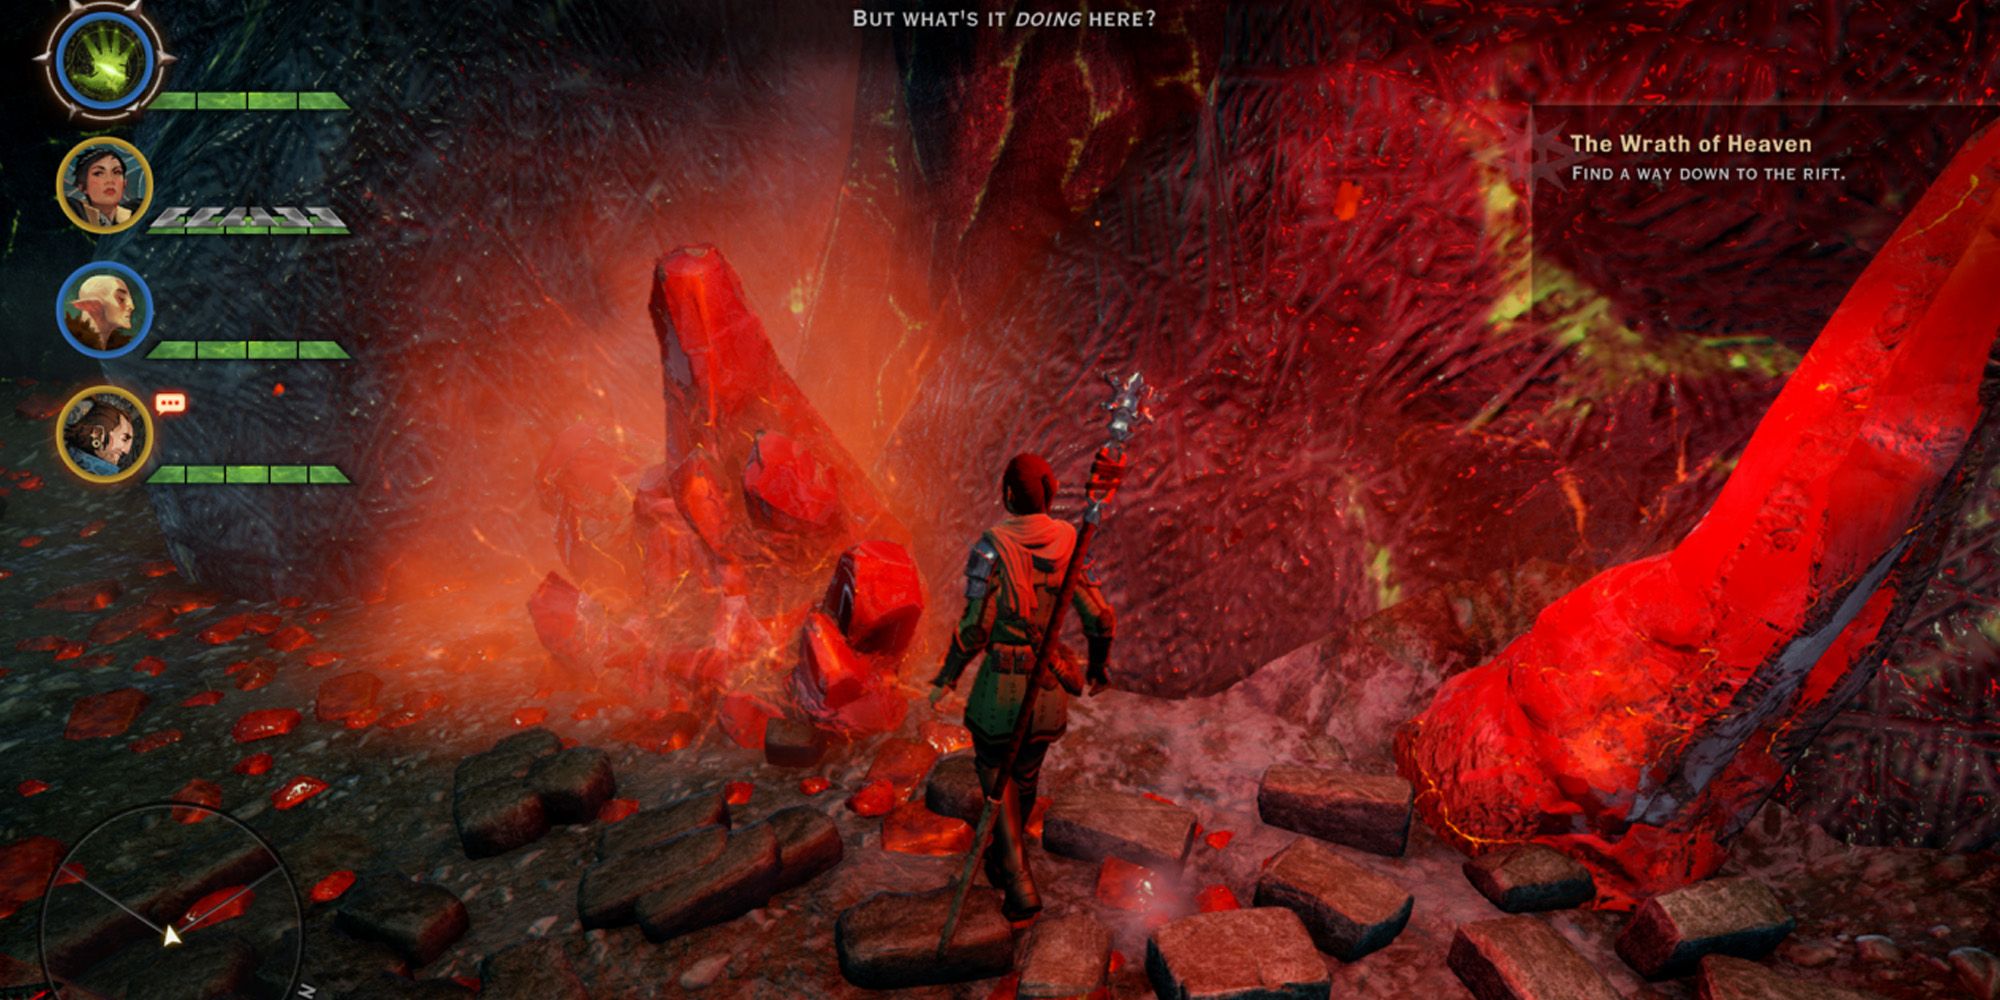
Reuniting with Leliana inside the temple, her soldiers spread out to cover as much of the area as possible in the event of an attack. The player and their party meander around the path towards the rift. As they move, there is a loud, booming voice no one can pinpoint. Varric notes the abundance of red lyrium and questions its appearance there, but as they approach the rift, the player sees themselves walking into a mysterious meeting in the Temple of Sacred Ashes.
Divine Justinia is bound by a powerful figure in the vision, who berates the player for their intrusion. She calls out for the player to run, at which point the vision begins to fade and they arrive back in the present moment just in time to face a powerful Pride Demon as they attempt to seal the rift.
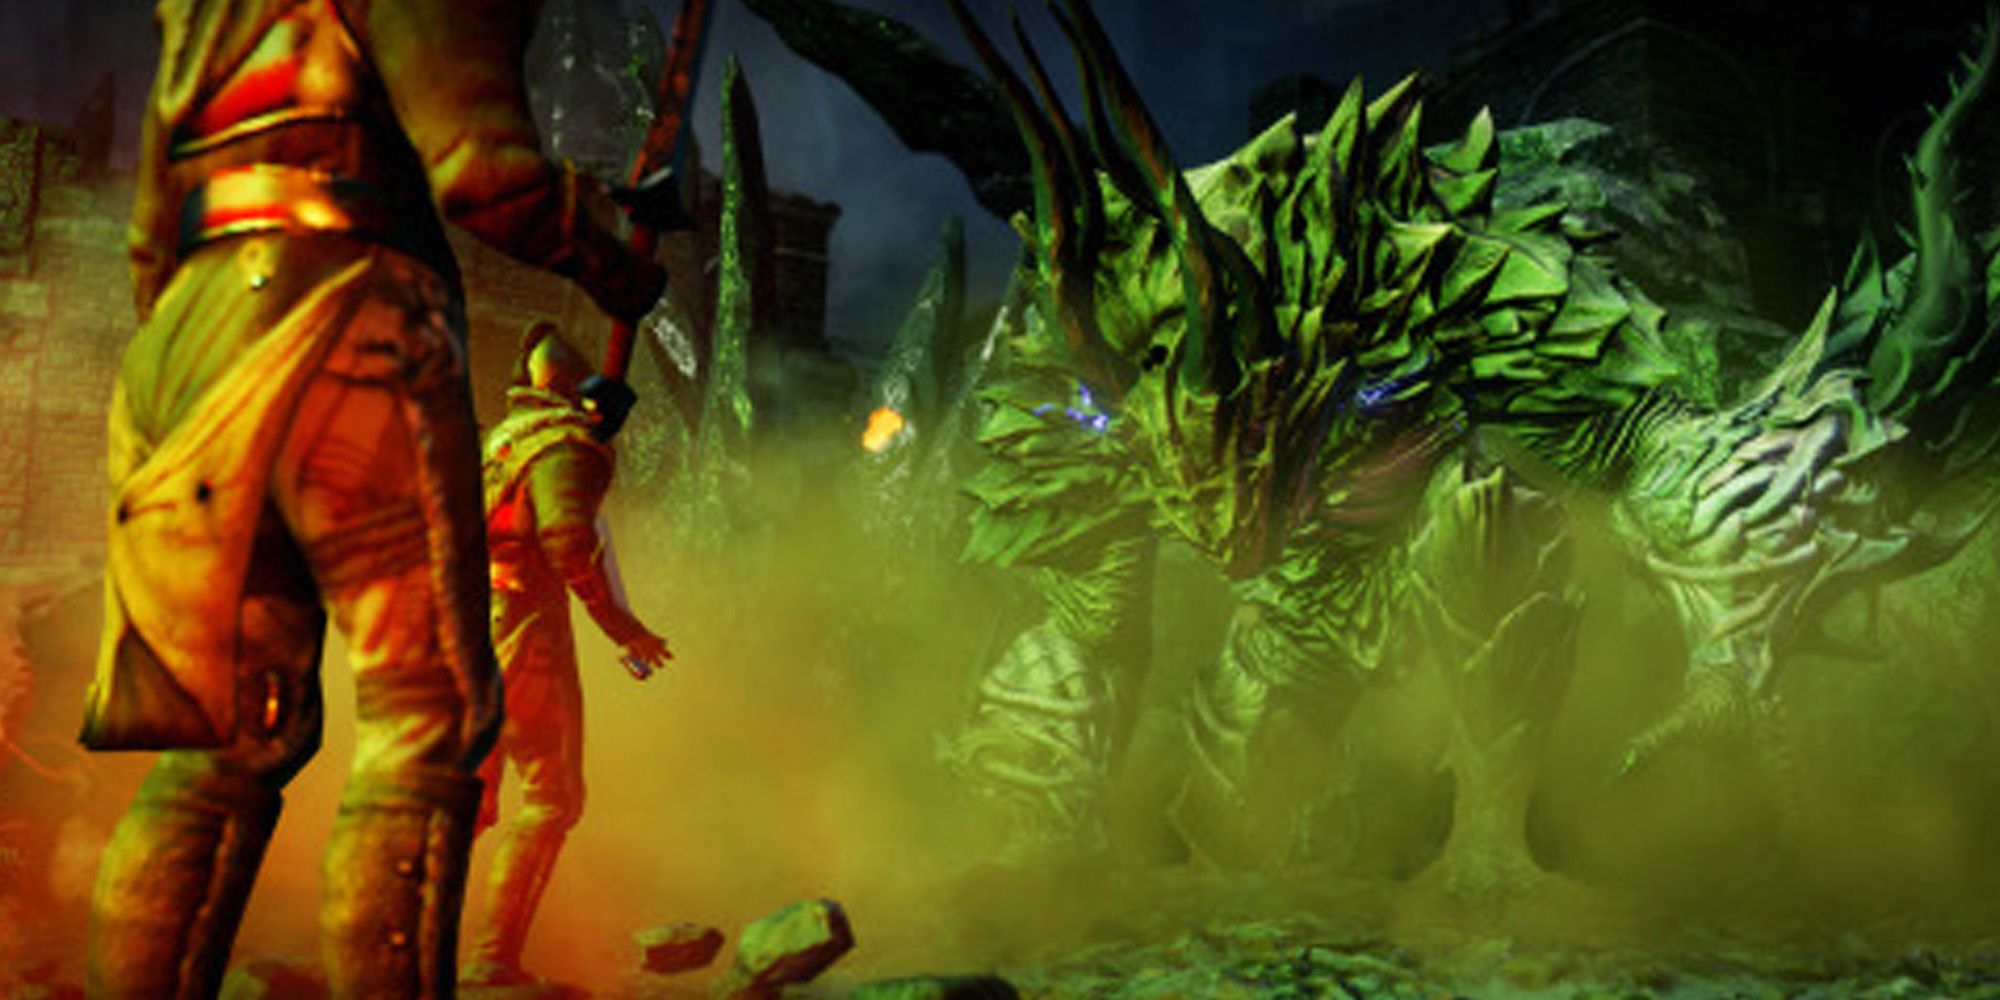
When Cassandra questions the player about what happened, they confess being unable to remember, at which point Solas points out that the rift is closed but has not been sealed. To seal it, they will need to reopen and then close it again. Doing so may bring demons through, so Cassandra positions her soldiers accordingly, and upon reopening the rift, a massive Pride Demon drops out.
Battling the Pride Demon takes a little bit of strategy, as it is has a heavy guard bar protecting its overall health. It is resistant to electrical damage and cannot be put to sleep or paralyzed. This is where the tactical camera will come in handy, as the player character must continue interacting with the rift to seal it while their party battles the lesser demons and Pride Demon. If possible, avoid fighting the demons with the player character unless attacked and maintain focus on sealing the rift.
Once the rift is sealed, everyone can breathe a little easier. As they head to their base camp in Haven, the NPCs begin referring to the player character as the Herald of Andraste, believing it was Andraste herself who saved them in the Fade and then sent them to save the world from the darkness threatening to tear it all apart.
0 Comments