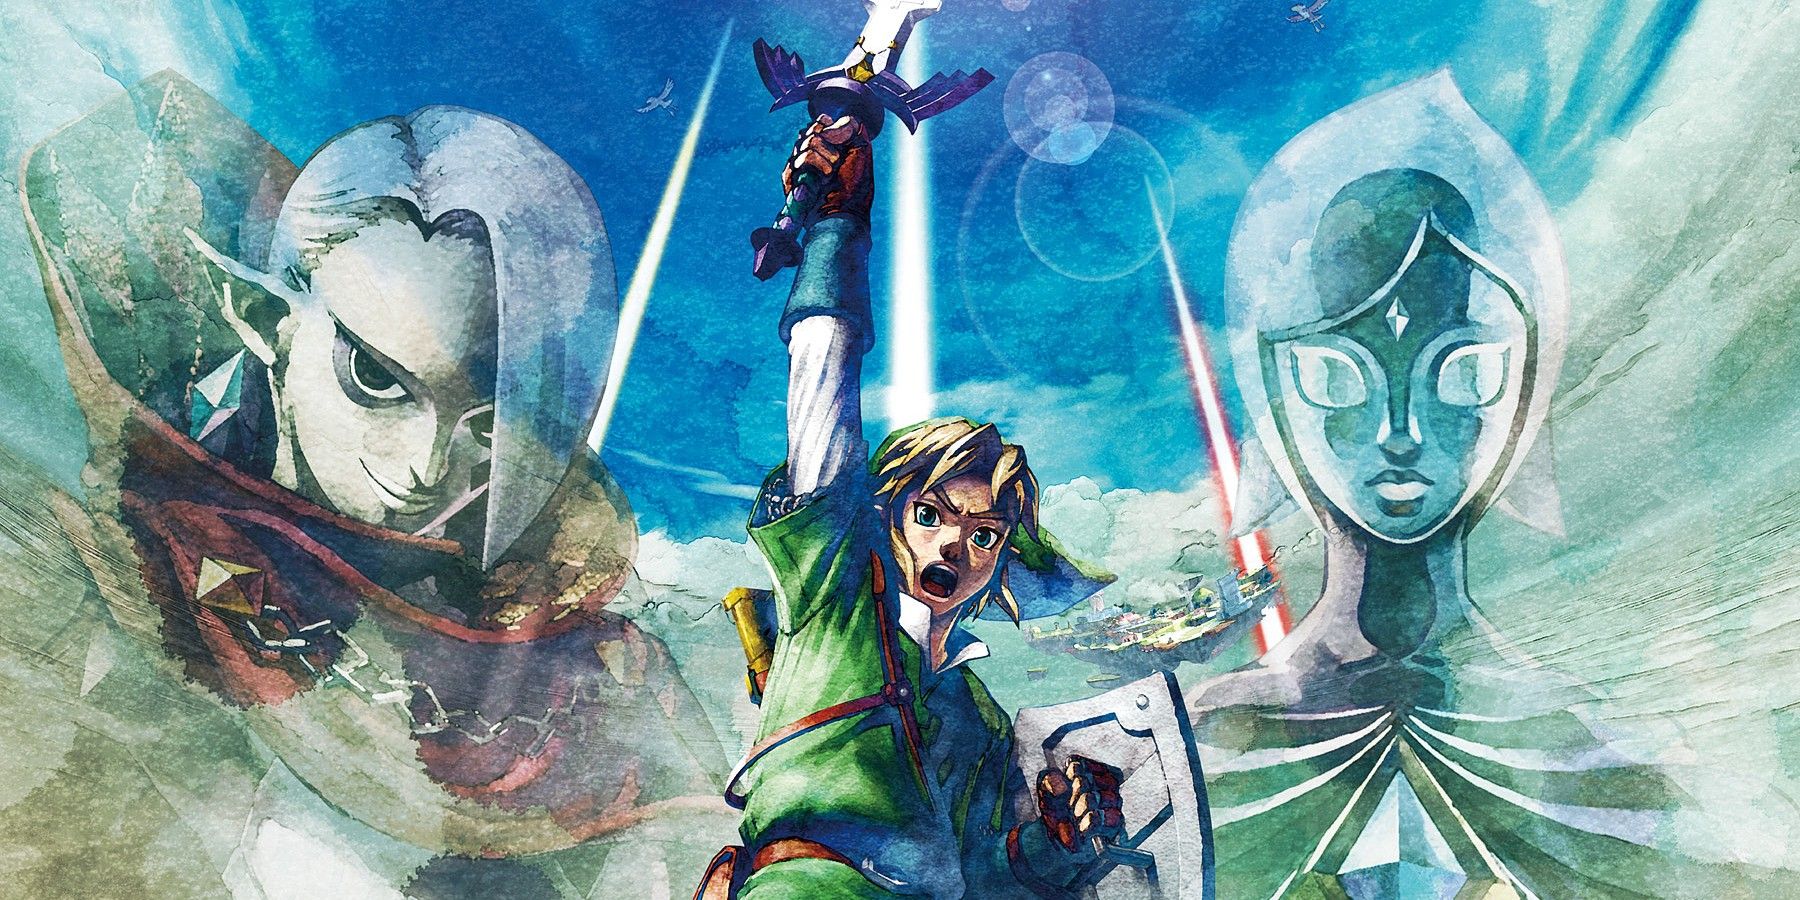
After the introductory levels of Skyloft and Faron Woods, Skyview Temple is Link's first real dungeon in The Legend of Zelda: Skyward Sword HD. After tracking Zelda to the temple, the young knight has to beat back some tricky foes and face off against one of the game's biggest antagonists: Ghirahim. While the dungeon is pretty straightforward, there are definitely some tricky portions.
Here's a walkthrough, as well as some tips and tricks, for getting through Skyview Temple in Skyward Sword.
After entering Skyview Temple, continue down the hall, hacking away any spiderwebs Link encounters on the way. Once Link reaches the first locked gate, look for a vine-covered ledge. Shoot the Deku Baba at the top with Link's slingshot, then climb up and hit the crystal to unlock the door.
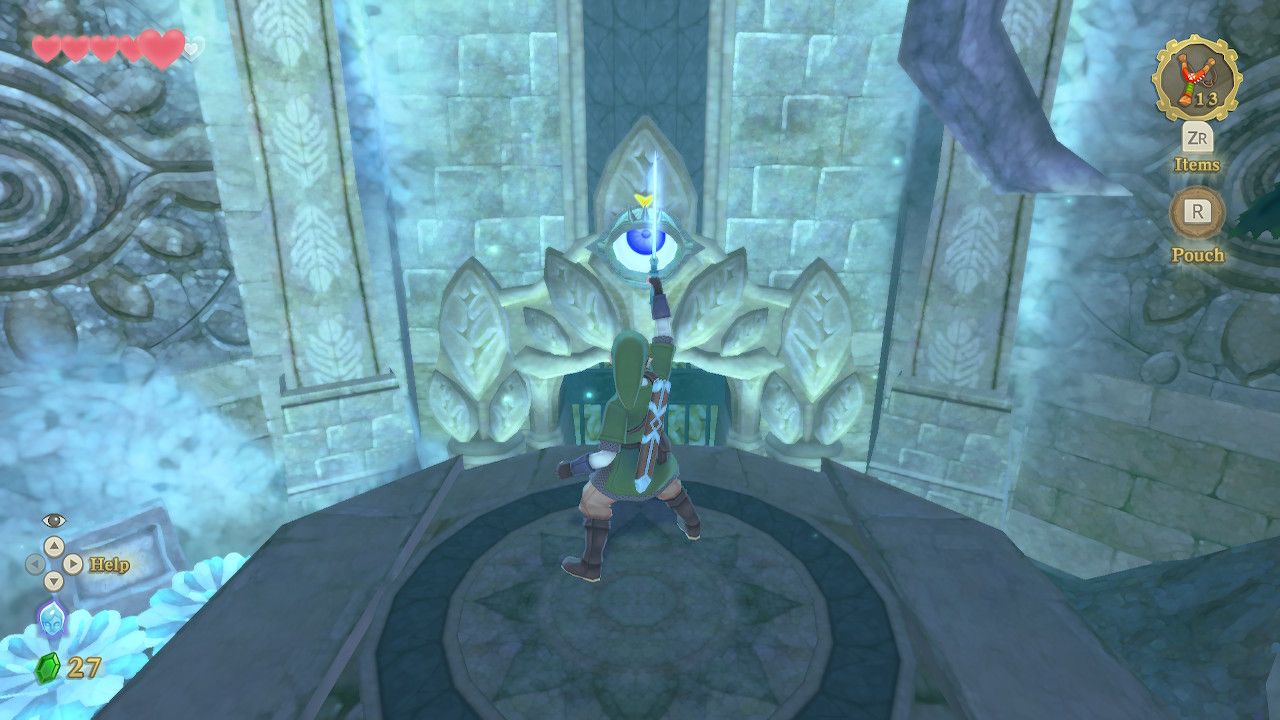
The next room introduces Skyward Sword's Eye Guardian. Pull out Link's sword and make sure the Eye Guardian is focused on the blade. Rotate the sword in a full circle several times to make the Eye Guardian fall off the door. Once the Eye Guardian is gone, head into the main body of Skyview Temple and kill the Green Bokoblin inside. Players can also climb the vines around the entrance door and hack through them to create a shortcut back to the start of the level.
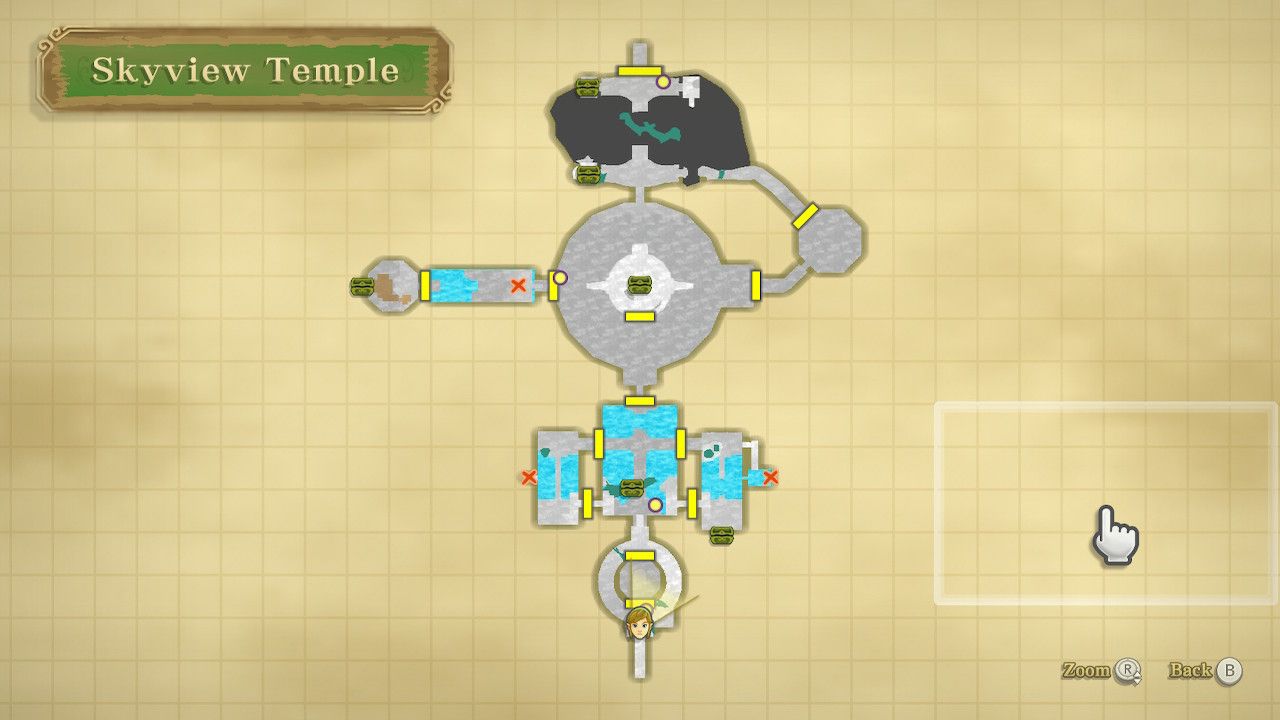
There's no real set order for how players should tackle Skyview Temple's main room. However, getting a Dungeon Map is always a good place to start, since it discloses to the player the layout of rooms and what's inside of them. To get the Dungeon Map, Link will need to tackle the room on the left.
After defeating the aforementioned Green Bokoblin, jump down from the main walkway and go under the bridge on the west side of the area. Shoot the crystal underneath with Link's slingshot. Then, go back up and through the newly opened door.
Kill the Green Bokoblin in this room. While there's a walkway, two Skulltulas will impede Link's process. To get around them, shoot the curled up vines beside them. Once that's done, swing across. Now, Link will be behind the Skulltulas. The most effective way to kill them is with a thrust. Once that's done, go halfway across the bridge and face west to find another crystal. Shoot it, and the water level will rise. Once that's done, head through the door at the southeast end of the room. Walk up the tree branch and open the chest to get the Dungeon Map.
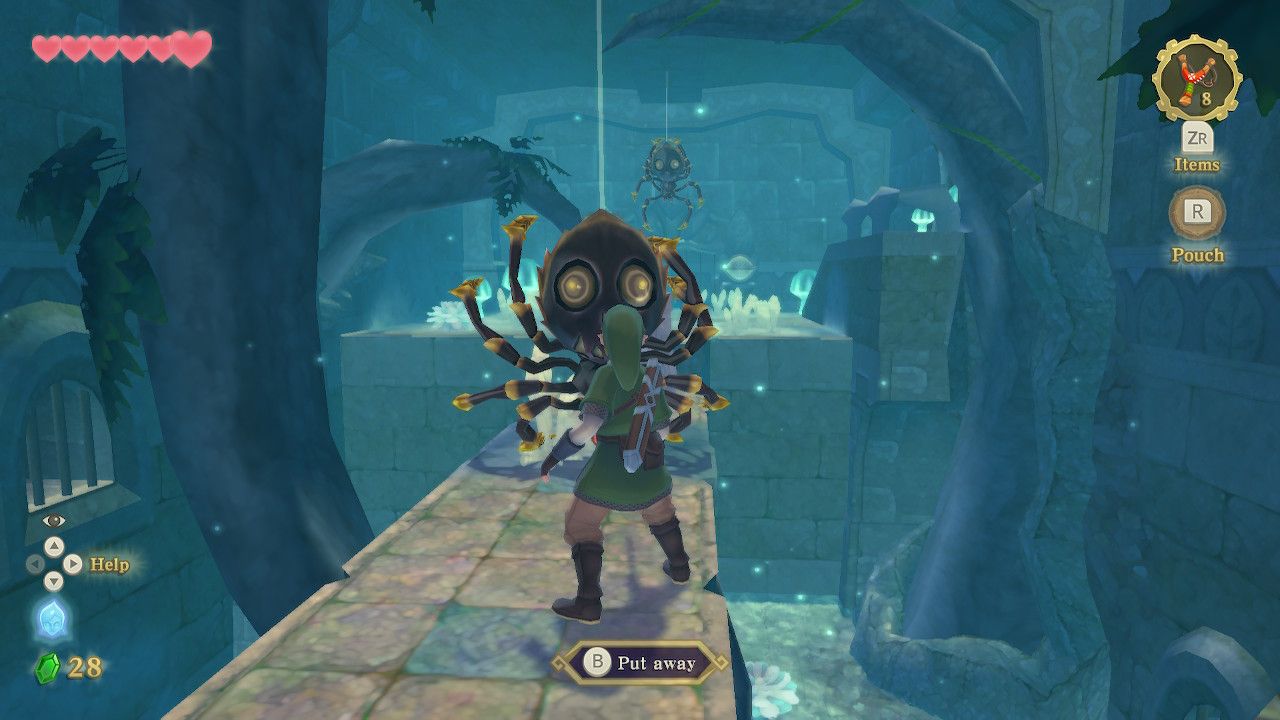
Jump back down onto the walkway and head to the door on the east side of the room. Shoot the crystal, then go through the open door. The Skulltulas in this room will descend from the ceiling when Link walks towards them. Hit them with a Horizontal Slash to make them spin around. This will expose their bellies, which Link can then stab with a thrust.
Drop into the lower portion of this room and look at the wall on Link's left. There should be a low tunnel through which he can crawl. Once on the other side, shoot the crystal to raise the water level. Then, use the vines to climb out of the chamber.
Exit the room and go back to the main chamber. On Link's left after leaving the door is a log floating in the water just in front of some vines. Shoot the Walltula with Link's slingshot and climb the vines. Go through the door, and Link will be on the opposite side of the room he was just in.
Kill the Skulltula, then stand between the Eye Guardians in such a way that both are open and looking at Link. Dizzy them with Link's sword to open the gate and get to the chest containing Skyview Temple's first Small Key. Grab the key, head back to the main room and open the door on the north side.
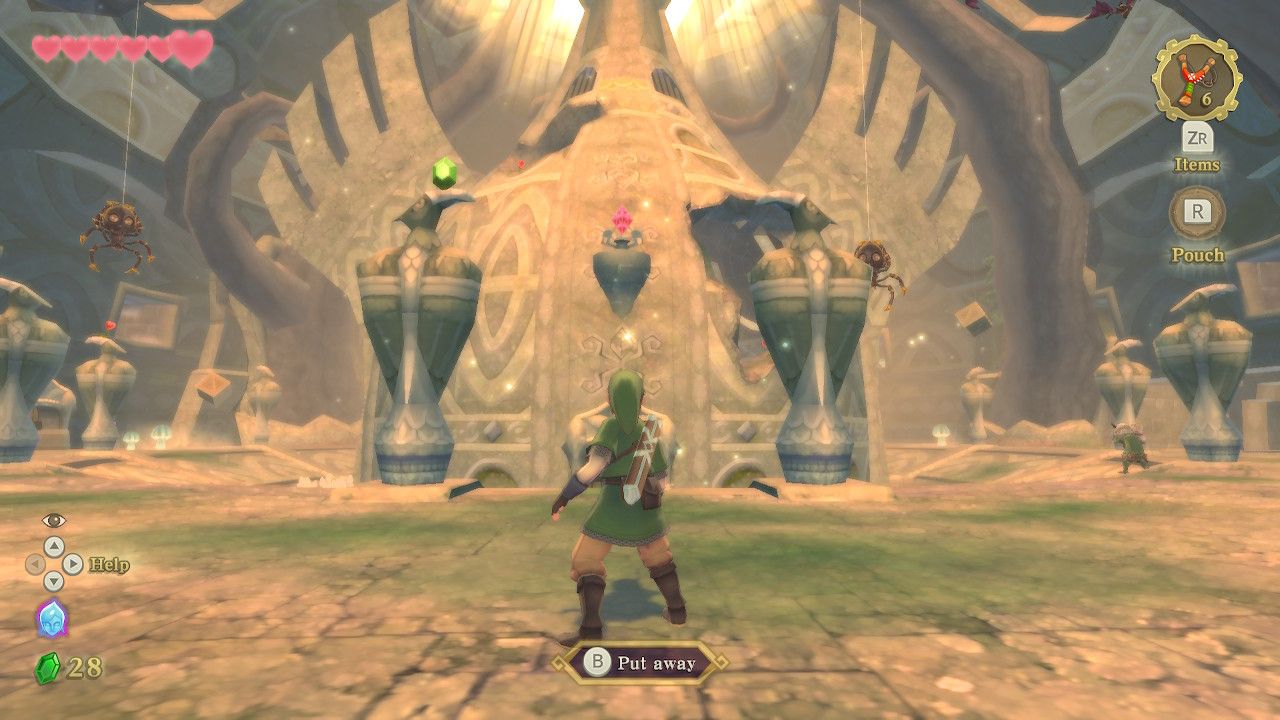
Above the door in the center of the room is a crystal. Shoot it to unlock the door beneath. Inside the chamber, Link will face off against a Stalfos. Overall, the Stalfos isn't a particularly difficult boss. Swing Link's sword in whatever direction the Stalfos isn't guarding to inflict some damage. Link can also use a Shield Bash to parry and stun the Stalfos.
After defeating the Stalfos, open the chest that appears in the middle of the room to get the Beetle. Equip this new item and send the beetle through the crack in the dome by the door. Circle around with the Beetle and hit the crystal above the door to open the exit back to the main chamber.
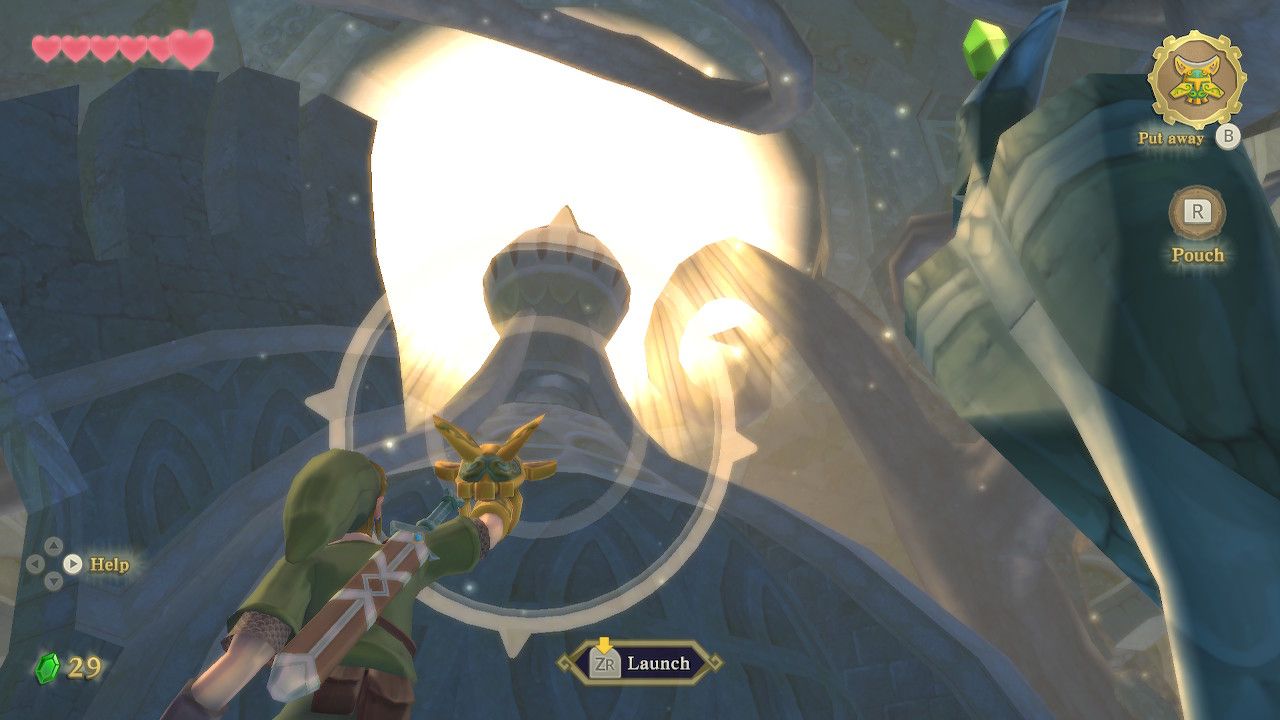
Once Link has the Beetle, head to the northeast side of the dome. Towards the top of the spire should be an opening. Fire the Beetle into the gap and hit the crystal inside. This will open a gate on the north side of the dome containing a piece of heart. From there, use the Beetle to cut down the crates and explore the various tunnels surrounding the main room. This should net Link a ton of rupees, which will come in handy when stocking up for the next level.
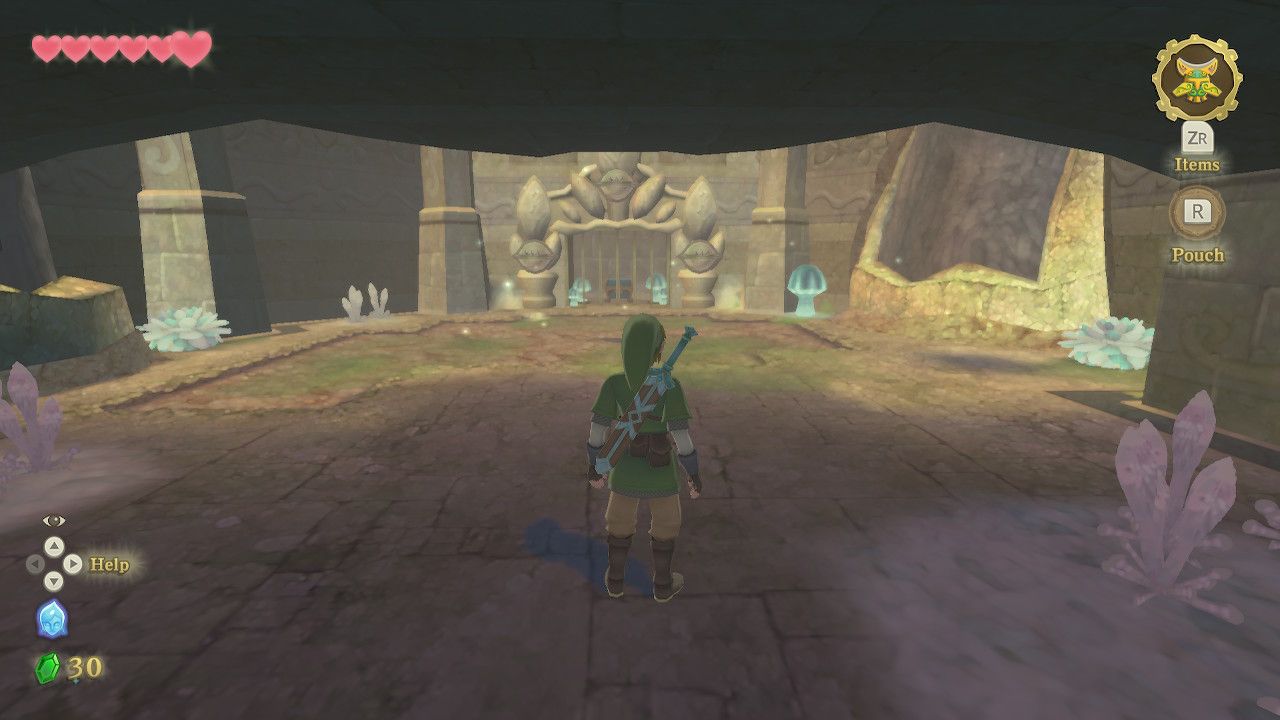
After getting the piece of heart and some rupees, head to the west side of the room (by the bird statue) and launch the Beetle into the tunnel. Inside, there should be a crystal. Hit the crystal with the Beetle to open the door and enter.
Cross the room and go through the door at the opposite end. A Skulltula will fall from the ceiling. Strike the enemy with an upwards Vertical Slash and then use Fatal Blow to kill it for good. Once the Skulltula is dead, cut down the hanging wooden crate to get a bunch of hearts.
Climb the vines up to the higher level of this area and cut down the metal crate. Push the metal crate towards the Eye Guardians. Position the crate in line with the middle Eye Guardian, then push it forward until the other two look at Link. Hop on the crate. The three Eye Guardians should now be looking at Link and thus vulnerable. Once they're gone, get the Small Key from the chest.
Head into the hallway and use the Beetle to hit a crystal on the other side of the Skulltula. This will fill the room with water. Swim to the staircase and go pass the Skulltula to the upper level of the room. Slice the tree trunks at the end and crawl through the hidden tunnel back into the main room.
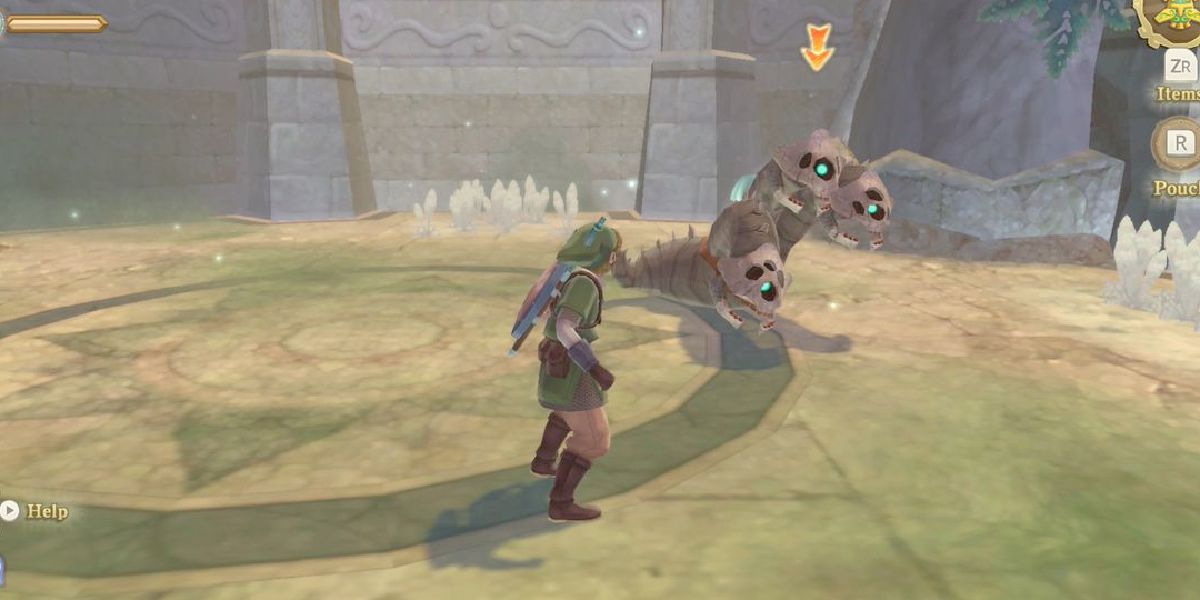
Go to the east side of the room and use the Beetle to kill the Deku Babas on the ceiling. Cross the tightrope, open the door and break down the barricades to come face-to-face with a Staldra. To defeat the Staldra, Link will need to destroy all three heads at once. This is remarkably easy: Just line them up and hit them with a Horizontal Slash.
After beating the Staldra, head through the newly unlocked door. Kill the Green Bokoblin and cut down the Skulltula with the Beetle. Jump across the gap and head towards the tightrope. Link will need to bait the Bokoblin on the other side onto the tightrope and then knock it off.
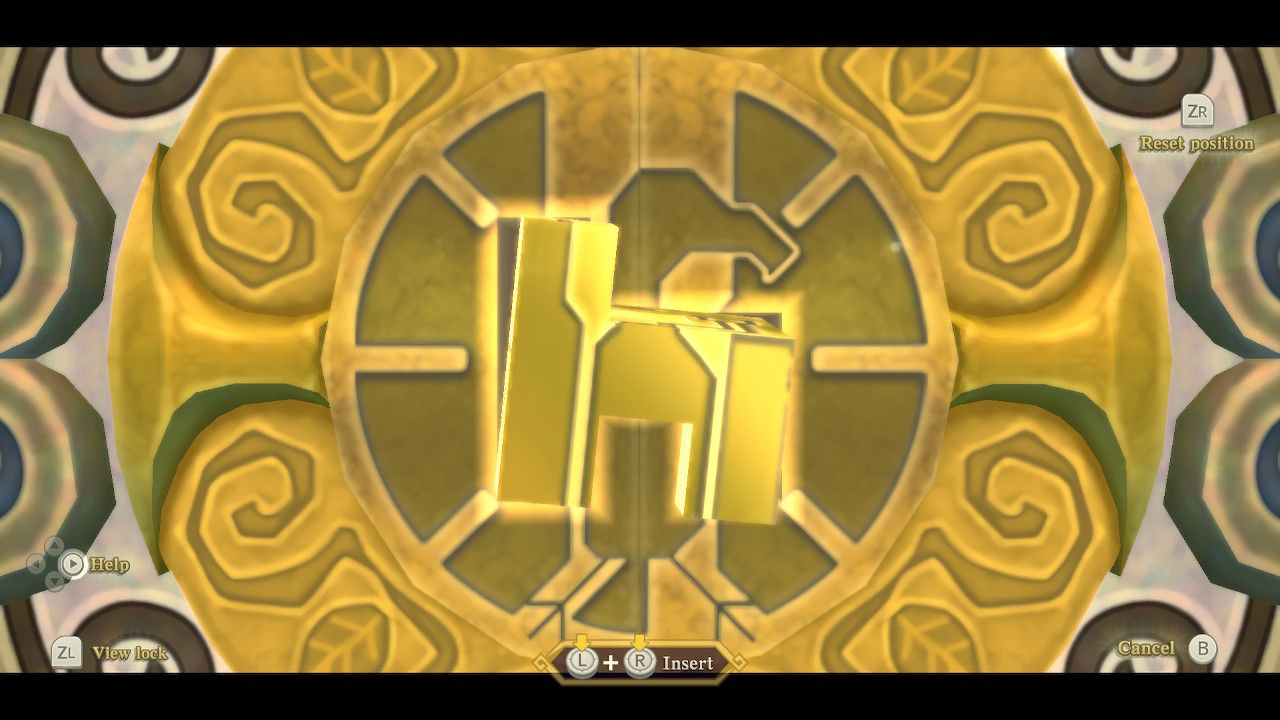
Head to the right and climb up the vines. After releasing the tied-up rope, swing across the chasm. Then, follow the tree until Link reaches a dead-end with two tied-up vines. Shoot down the tied-up vines and swing across. On the other side, open the chest and get the Golden Carving. Climb up the vines and jump down back into the main room. Cross the tightrope and maneuver the Golden Carving into the door.
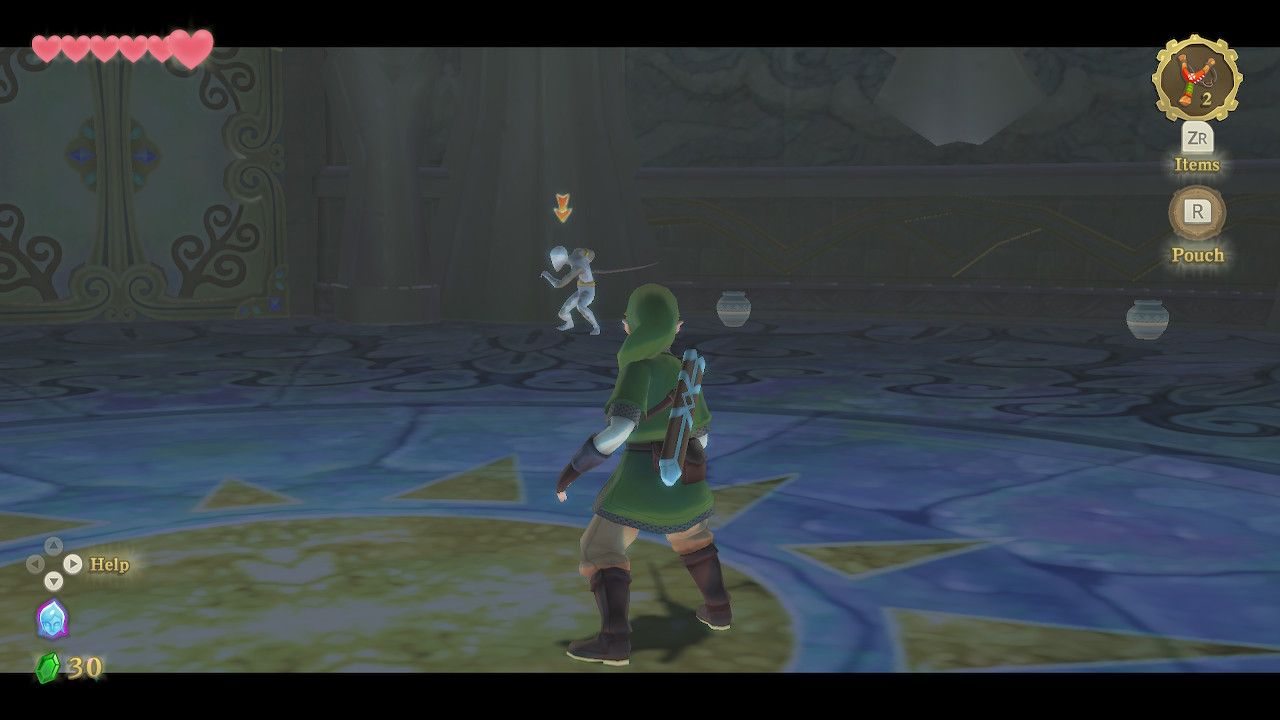
After the cutscene, Link will face off against Ghirahim. In the first phase, Ghirahim mostly toys with Link, walking with his hand held out to grab the hero's sword. This phase isn't particularly difficult, though the timing can be awkward. Hit Ghirahim by holding the sword in one direction and then moving it in the opposite one without swinging. Then, swing to hit him. Do this several times and he'll reveal his second phase. If Ghirahim gets hold of Link's sword, shake free. Otherwise, Ghirahim will take the weapon and throw it at Link, giving the hero a chance to retrieve his blade.
Ghirahim's second phase consists of three attacks. The first has him summoning daggers. Link can dodge the daggers, bounce them back with a Shield Bash or swing his sword to slice them out of the air. The second has Ghirahim teleporting next to Link. If the player is quick, they can get a few easy hits in on him. The third attack has Ghirahim dashing at Link. This one is harder to avoid and is best dealt with through the use of a well-timed Shield Bash, which will leave the villain open to a counter attack.
Eventually, Link will do enough damage to Ghirahim, and he'll decide to leave, claiming Zelda has disappeared from Skyview Temple. Pick up the Heart Container and head into Skyview Spring. Go behind the altar and activate the Goddess Cube. Then, use Skyward Slash on the altar to get the Ruby Tablet.
0 Comments